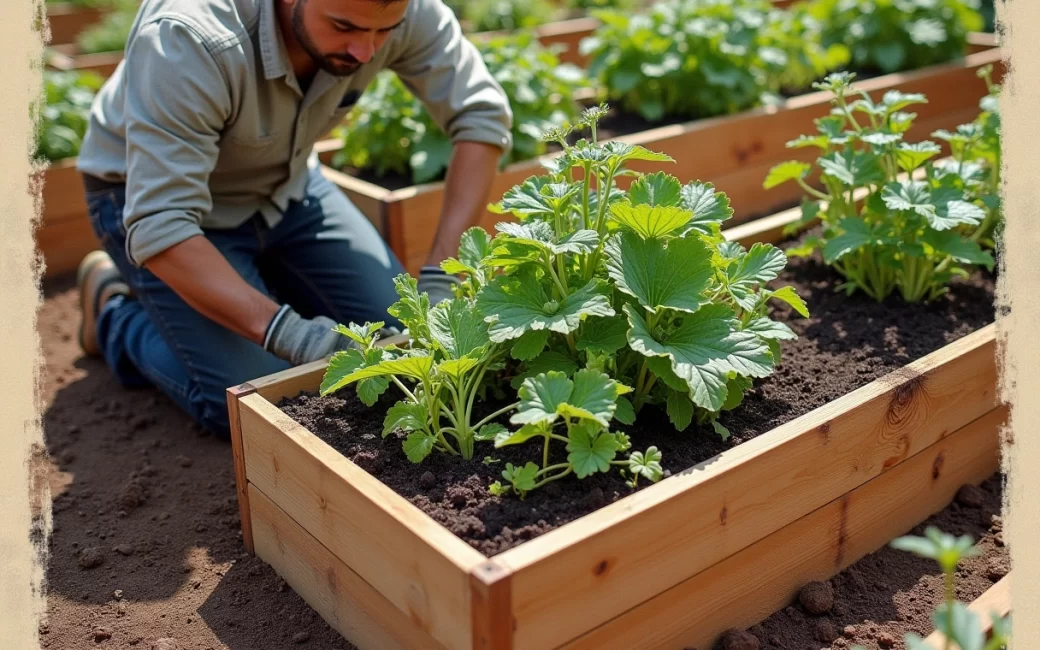
Native soil is compacted, poorly drained, or contaminated
The reason to raise a bed at all is almost always a soil problem, not an aesthetic one. Clay soil that puddles for days after rain, ground compacted by years of foot traffic, or a yard where lead paint or old construction fill might be lurking are all conditions that no amount of digging and amending fixes quickly. Vegetables planted straight into that ground grow slowly, roots stay shallow, and the bed stays wet long after a healthy garden would have drained.
A raised bed sidesteps the problem instead of solving it. Building a frame and filling it with a purchased or blended growing medium puts roots into soil you control from day one, sitting above the level of the compacted native ground. Because the growing area is never walked on — the whole point of the next section — that imported soil stays loose season after season, which is the actual mechanism behind the drainage and root-growth improvement people notice. If your native soil already drains well and isn't compacted, a raised frame buys you tidier edges and better weed control, but not much else; it's worth being honest about which problem you're actually solving before you build anything.
How wide, how long: the layout that keeps you off the soil
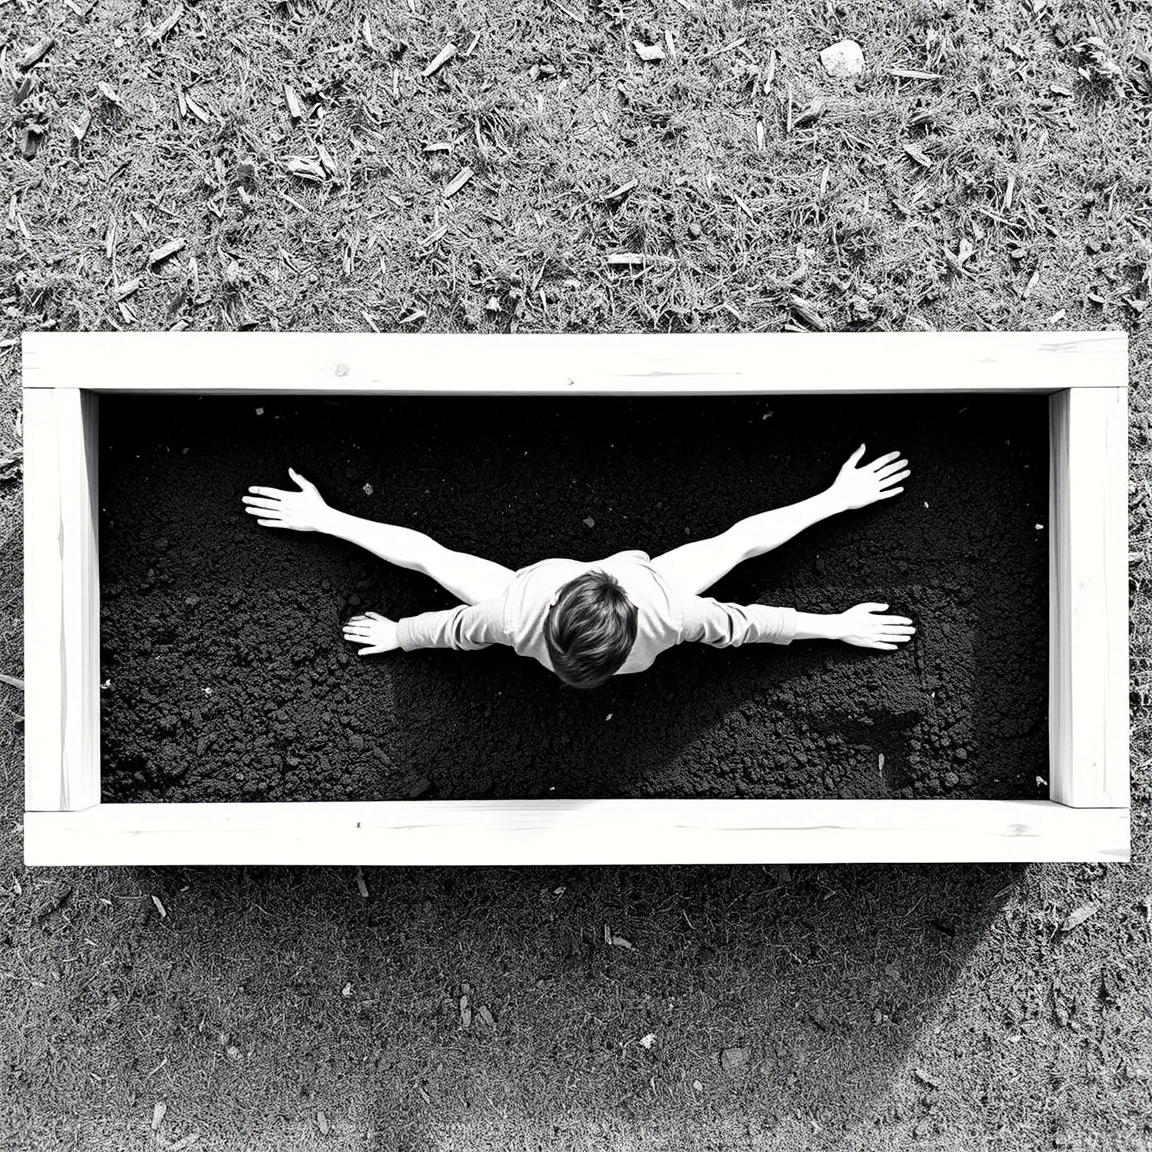
The most common design mistake is building a bed too wide to reach across, which forces the gardener to step onto the soil to weed or harvest the middle. Once soil has been stood on it compacts, and compacted soil is exactly what the raised bed was built to avoid.
Beds should be sized around your own reach rather than around the lumber you happen to have. As a rule of thumb, a bed reachable from both long sides should run around 4 feet wide, since that lets most adults get to the centre from either edge without stepping in; a bed against a wall or fence that's only reachable from one side should be roughly half that. Length is flexible and usually set by the site, but very long runs are harder to work around and are often better split into two shorter beds with a path between them. The Old Farmer's Almanac's raised-bed layout guidance recommends keeping paths between beds wide enough for a wheelbarrow or kneeling pad to pass, rather than the narrow gaps that look efficient on paper but are unworkable once the beds are planted out. The point of the layout isn't the shape of the bed itself — it's making sure every inch of soil inside it can be worked entirely from the paths, never from inside the frame.
What goes on the bottom, and why each layer does a different job
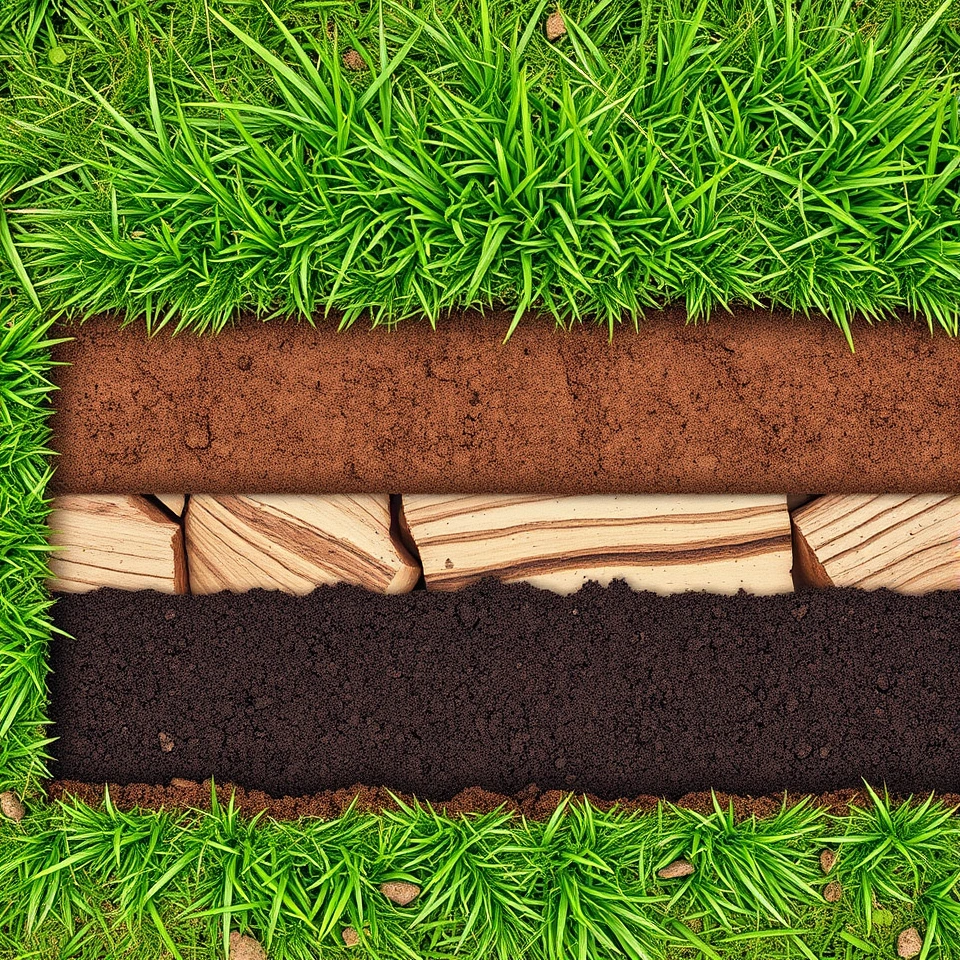
An open-bottomed bed set straight onto grass or bare soil needs a base built from at least two materials, because weed suppression and animal exclusion are two different jobs and one layer can't do both.
- Cardboard or several sheets of newspaper smother the turf underneath so grass and perennial weeds can't push up through the new soil; it breaks down over time and adds organic matter as it goes.
- Hardware cloth stapled across the full base, before the cardboard or under it, keeps voles, gophers, and other burrowing animals from tunnelling up into the bed from below, without blocking drainage the way a solid liner would.
- Coarse filler at the very bottom of a deep bed — broken branches, wood offcuts, or coarse gravel — is sometimes added purely to reduce how much purchased soil mix is needed to fill the frame; it isn't doing the weed or pest job, and shouldn't be relied on for either.
All three layers, where used, go in before the bed is filled, not after — a hardware-cloth base is much easier to staple to a frame that's still empty than to work in around root balls later. A bed with a solid, closed bottom (see the next section) doesn't need the cardboard or hardware cloth at all, since there's no soil contact with the ground to smother or defend.
Ground-level bed or elevated planter: the trade-off
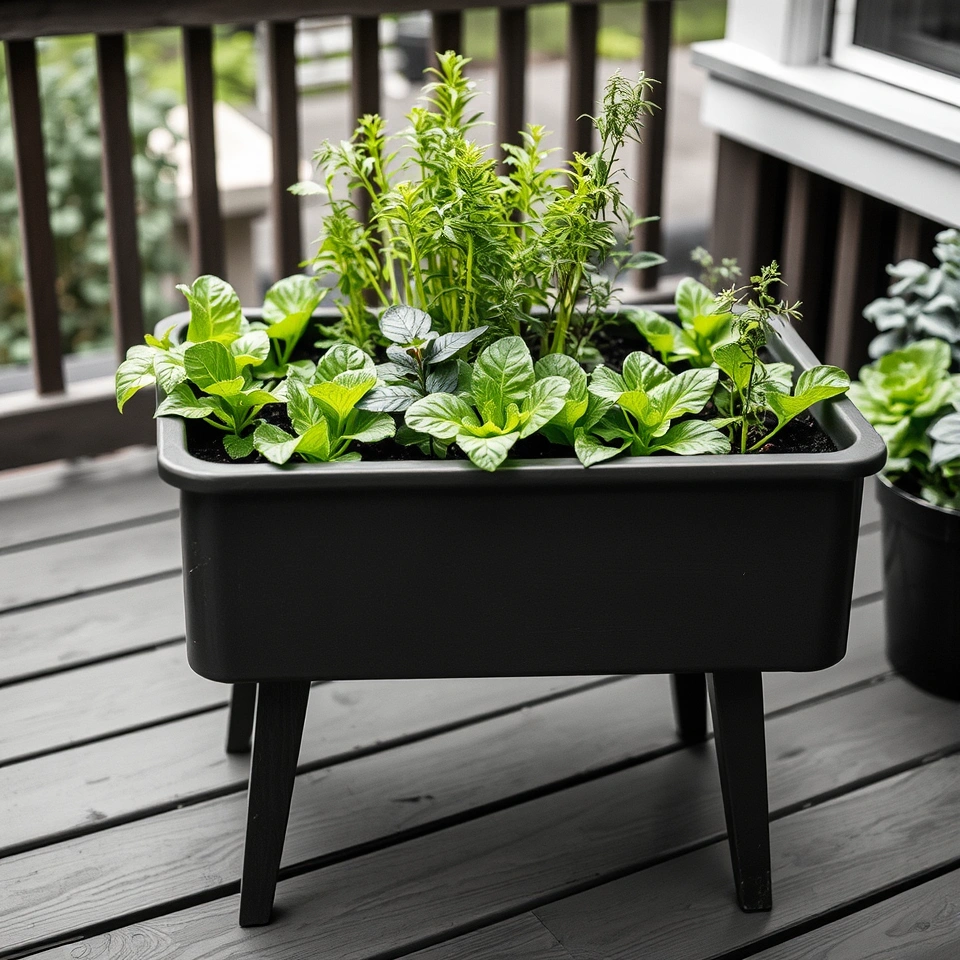
Choose an elevated planter on legs when bending or kneeling at ground level isn't workable, or when there's no soil to build into at all — a deck, patio, or balcony. The trade is soil depth for working height: a standing-height planter puts the growing surface at roughly waist level, which is the entire appeal for anyone gardening with limited mobility, but the box itself is necessarily shallower than an open-bottomed ground bed, because a taller closed container full of soil becomes very heavy and structurally demanding. Gardener's Supply's elevated bed collection shows the range of standing planters designed around this compromise, with closed bottoms that hold a fixed, limited volume of soil rather than draining into the ground beneath.
That shallower depth rules out anything with a long taproot or a large root mass — the same crops flagged in the next section — so an elevated planter works best planted with what it's actually deep enough for: lettuce, herbs, strawberries, and shallow-rooted greens, rather than the tomatoes and squash people default to. A ground-contact raised bed, by contrast, can be built to whatever depth the crop needs, because it drains into the native soil below rather than holding a fixed reservoir.
Build or buy: the actual cost comparison
Whether building or buying a kit is cheaper depends almost entirely on soil volume, not on the frame. For a single small bed, lumber, corner brackets or screws, and a weekend's labour usually costs less than a comparable pre-cut kit, since you're only paying for material and your own time rather than manufacturing and packaging. Fine Gardening's guide to building your own raised beds walks through sourcing rot-resistant lumber and basic corner joints as the main cost variables in a DIY build, and for one or two beds that framing cost is genuinely the cheaper route.
The comparison shifts once you're filling more than a couple of beds. Soil is priced by volume, and a deep bed uses far more of it than the frame around it costs, so at a certain scale the soil bill dwarfs whatever you saved on lumber — a kit's price premium becomes a smaller fraction of the total once several cubic yards of growing medium are added to either option. Buying a kit also removes decisions about material, fasteners, and corner strength that a first-time builder might get wrong, which is part of what packaged options are actually selling. As a rough guide:
| Route | What you're paying for | Best suited to |
|---|---|---|
| DIY build | Lumber or masonry, fasteners, your labour | One or two beds, a custom size or shape |
| Pre-cut kit | Pre-cut sides, hardware, assembly instructions | Several identical beds, no cutting tools on hand |
| Either route, at scale | Soil volume dominates the total cost | Any garden with more than two or three beds |
The practical takeaway is to price the soil first. Once you know how many cubic feet you need to fill your chosen depth and footprint, the frame cost — built or bought — becomes a smaller decision than it first appears.
Bed material: durability against soil contact and weather
The sides of a raised bed sit in permanent contact with wet soil, which is a harder environment than most people expect from a garden structure, and materials behave very differently under it.
Cedar and other rot-resistant woods are the most common choice because they resist decay far longer than untreated softwood without needing paint or sealant, though they still eventually break down where the wood meets wet soil. Recycled plastic and composite lumber sidesteps rot entirely and is marketed on that longevity, at a higher upfront cost than plain wood. Galvanized metal, including repurposed stock tanks, resists rot completely but can rust at seams or cut edges over time and heats the soil inside more than wood does in full sun. Masonry — stone, brick, or concrete block — is the most permanent and heaviest option, effectively a one-time structure rather than something rebuilt every decade. Eartheasy's comparison of cedar, recycled plastic, and metal raised beds lays out this durability trade-off across materials, which is worth checking against your own climate and budget before committing to one.
| Material | Rot/rust behaviour | Relative cost | Notes |
|---|---|---|---|
| Cedar / rot-resistant wood | Resists decay for years, eventually breaks down at soil line | Moderate | Most common DIY choice |
| Recycled plastic / composite | Doesn't rot | Higher upfront | Long-lived, lighter than masonry |
| Galvanized metal / stock tank | Doesn't rot; can rust at seams | Moderate to high | Heats soil more in full sun |
| Masonry (stone, brick, block) | Effectively permanent | Highest upfront | Heaviest, least portable |
None of these materials fixes a bad layout or the wrong soil depth — they only change how long the frame around it lasts.
What not to plant in a raised bed
Certain plants are a poor fit for a raised bed regardless of material, because the problem is depth and footprint, not the frame. Deep-taprooted vegetables like parsnips and long carrot varieties often hit the bottom of a shallow bed and either stop or fork; they need a bed built specifically to their root length, or they belong in open ground instead. Aggressive spreaders — mint above all — will happily fill an entire bed and push roots through drainage gaps into neighbouring beds or the lawn beyond, so they're better kept in a dedicated container standing apart from the main bed. Large perennials, sprawling squash, and other plants that want more square footage than they're given will out-compete everything else sharing that bed's limited soil volume, which is really a footprint problem rather than a soil-quality one.
The practical fix in each case is matching the plant's actual root depth or spread to the bed's dimensions before planting, rather than treating "raised bed" as a single growing condition that suits everything.
Orientation, sunlight, and trellis placement
Bed orientation decides which crops get full sun and which get shaded by their neighbours, especially once trellises and tall crops are added. A row of beds running north–south generally gives even light to both sides through the day, while an east–west row can leave one long side shaded for part of the afternoon depending on what's planted where. Height compounds this: a tall trellised crop — pole beans, cucumbers, or climbing squash — cast on the wrong side of a bed can shade a shorter, sun-hungry crop in the next bed over for most of the day.
The workable fix is to place trellises and the tallest plants on the north side of a bed (in the northern hemisphere), so their shadow falls away from the bed rather than across it, and to keep the shortest, most light-demanding crops on the side that gets the longest unobstructed sun. This matters more as beds are added in a row, since the shading effect compounds down the line rather than affecting just one bed in isolation.
Corners, fasteners, and a basic build sequence
A DIY frame lives or dies at the corners — a butt joint held only with screws into end grain will loosen faster than one reinforced with a bracket or a lapped joint. The build sequence itself is straightforward once the site and dimensions are settled:
- Mark out the bed footprint and check it's level; a sloped base drains unevenly and stresses corner joints over time.
- Cut side boards to length, and cut corner posts slightly longer than the bed's height so they can be driven into the ground for stability.
- Attach sides to corner posts with exterior-rated screws or corner brackets rather than nails, which work loose under the constant pressure of wet soil.
- Lay the base layers — hardware cloth and cardboard for an open-bottom bed — before any soil goes in.
- Fill with soil mix, firming lightly at the edges where it meets the frame, and water before planting to let the mix settle.
Fine Gardening's build guide covers this corner-joint problem in more detail for anyone building their first frame, including which fastener types hold up best in wood that's going to sit wet for years. None of this needs specialised tools beyond a saw, a drill, and a level, which is part of why a first bed is usually cheaper built than bought.
Once the frame is in the ground and filled, the next decision is what to grow first — and that comes back to the depth and footprint you've actually built, not the crop list on a seed packet.